
没用过MacOS, 装个虚拟机玩玩。
下载MacOS12 Monterey iso镜像。亲测 MacOS14 不行, 会无限重启。
使用auto-unlocker 添加VMware对macOS镜像的支持。
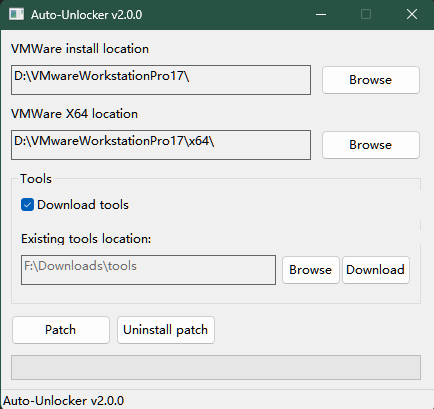
依次点Download和Patch就行了。
然后新建虚拟机, 创建完修改 .vmx配置, 末尾添加:
1
2
3
4
5
6
7
8
9
10
11
12
13
14
| smc.version = "0"
cpuid.0.eax = "0000:0000:0000:0000:0000:0000:0000:1011"
cpuid.0.ebx = "0111:0101:0110:1110:0110:0101:0100:0111"
cpuid.0.ecx = "0110:1100:0110:0101:0111:0100:0110:1110"
cpuid.0.edx = "0100:1001:0110:0101:0110:1110:0110:1001"
cpuid.1.eax = "0000:0000:0000:0001:0000:0110:0111:0001"
cpuid.1.ebx = "0000:0010:0000:0001:0000:1000:0000:0000"
cpuid.1.ecx = "1000:0010:1001:1000:0010:0010:0000:0011"
cpuid.1.edx = "0000:0111:1000:1011:1111:1011:1111:1111"
smbios.reflectHost = "TRUE"
hw.model = "MacBookPro14,3"
board-id = "Mac-551B86E5744E2388"
keyboard.vusb.enable = "TRUE"
mouse.vusb.enable = "TRUE"
|
开启虚拟机,完成安装。最好注册或拥有AppleID登录, 可以去官网注册, 没登录的时候打开应用会死机重启, 不知道为什么, 登上就稳定了。
配置代理:
home+space 输入terminal打开终端, 键入 vi /etc/profile, shift G跳到最后,根具实际VMware NAT网络中的主机地址来填:
1
2
3
4
5
| export proxy="http://192.168.59.1:10809"
export http_proxy=$proxy
export https_proxy=$proxy
export ftp_proxy=$proxy
export no_proxy="localhost, 127.0.0.1, ::1"
|
1
2
3
4
5
6
7
| # 运行
source /etc/profile
# 查看是否生效
echo $http_proxy
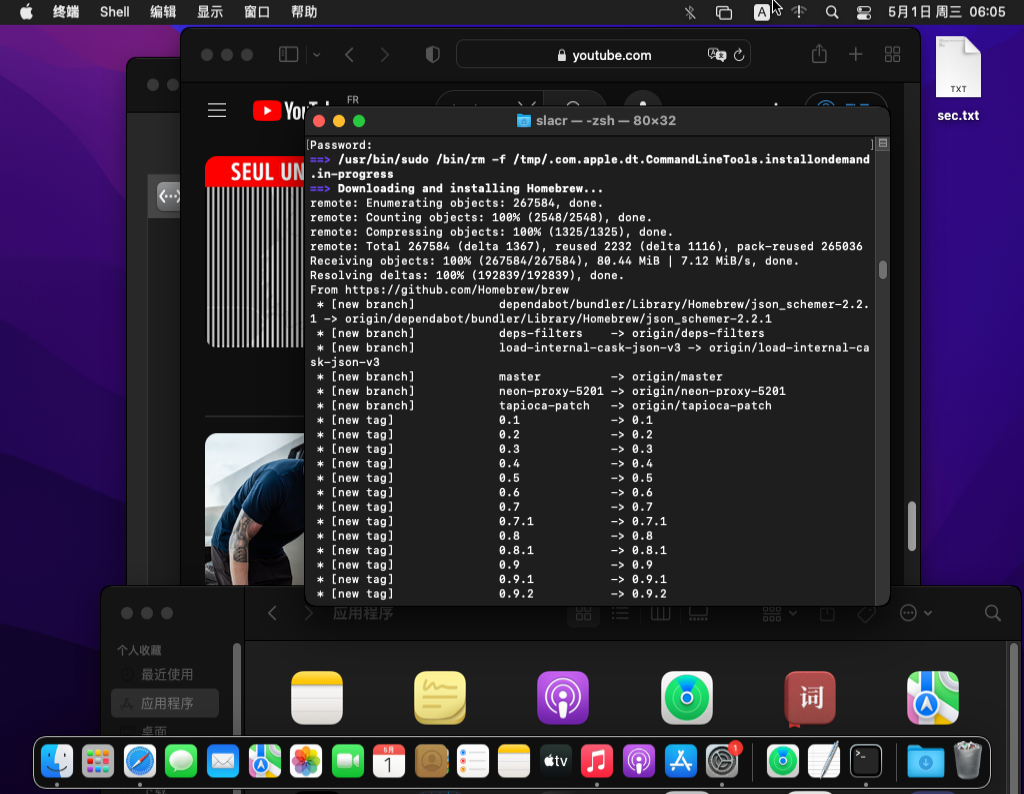
# 装个homebrew
/bin/bash -c "$(curl -fsSL https://raw.githubusercontent.com/Homebrew/install/HEAD/install.sh)"
|
参考
- windows 安装苹果虚拟机保姆级教程
